
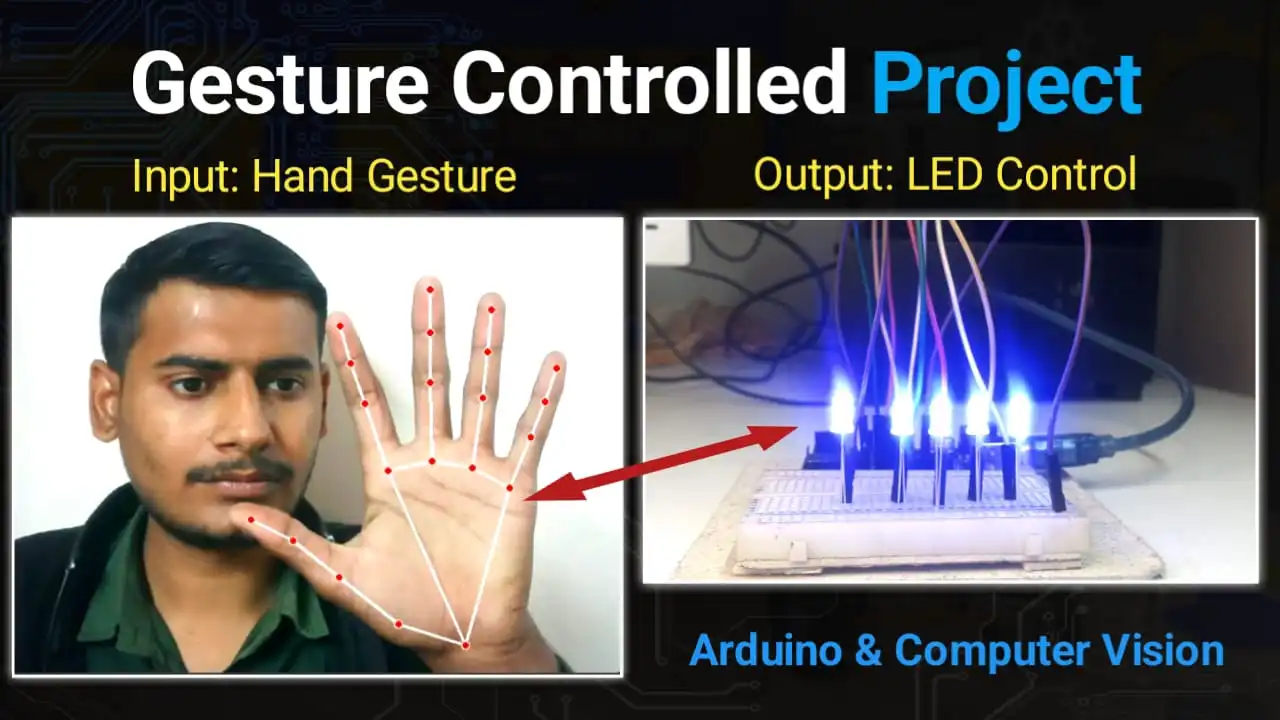
Imagine controlling the lights in your room without touching a single switch—just like Iron Man! In this project, we will build a Hand Gesture Controlled LED System using an Arduino Uno and Python.
We will use Computer Vision (OpenCV and MediaPipe) to detect your fingers and send commands to the Arduino to turn LEDs ON or OFF.
This guide covers everything from hardware connections to software installation and coding. Let’s get started!
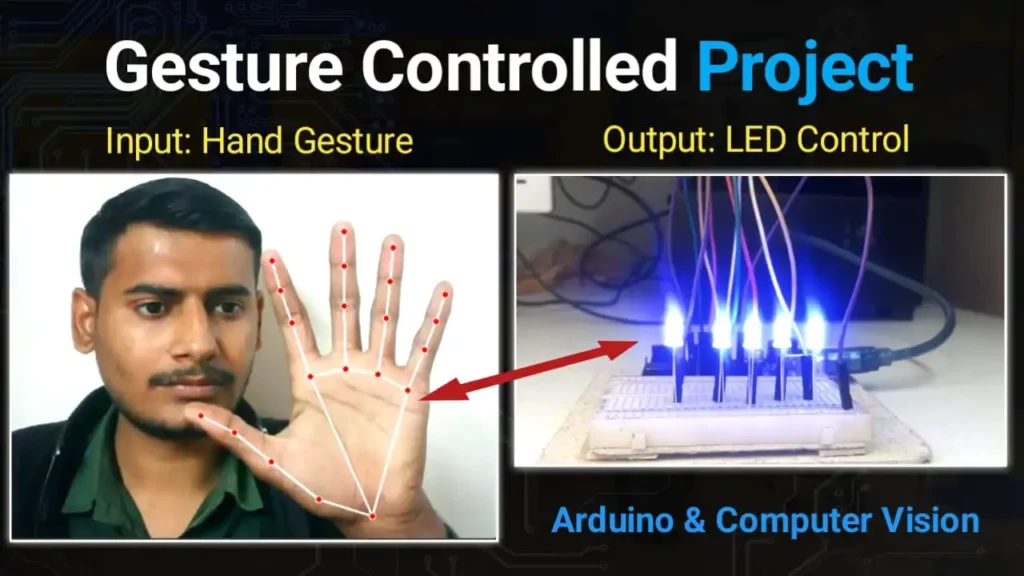
Table of Contents
Components Required
To build this project, you will need the following hardware:
- Arduino Uno (1 pc)
- LEDs (5 pcs – Any color)
- Breadboard (1 pc)
- Jumper Wires (Male-to-Male)
- Cardboard (Optional: To mount the Arduino and Breadboard neatly)
- USB Cable (To connect Arduino to PC)
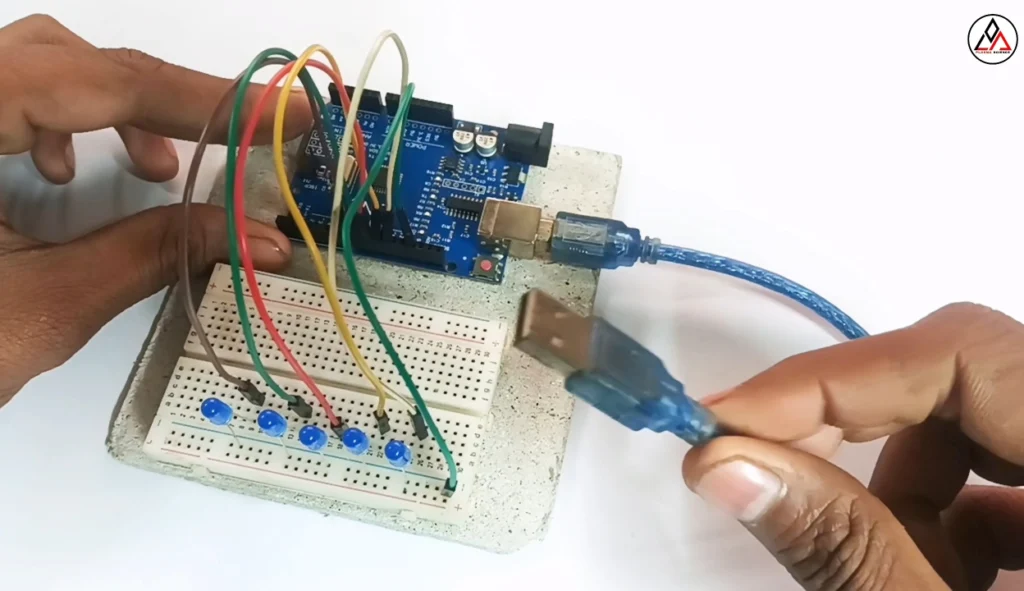
Step 1: Hardware Connections
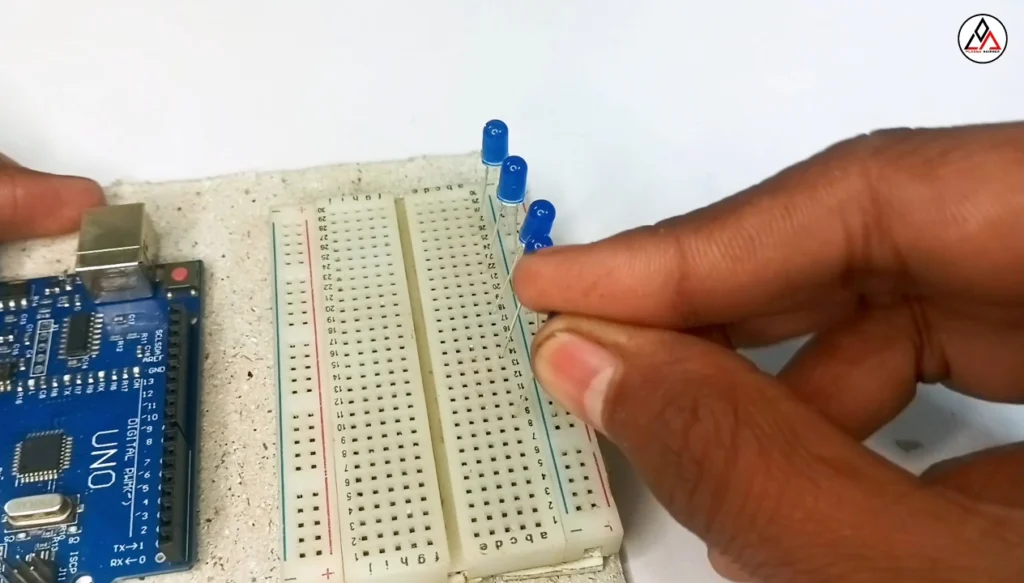
First, let’s set up the circuit. You can fix the Arduino and Breadboard on a piece of cardboard for stability.
Place the LEDs: Insert the 5 LEDs onto the breadboard.
Circuit Diagram
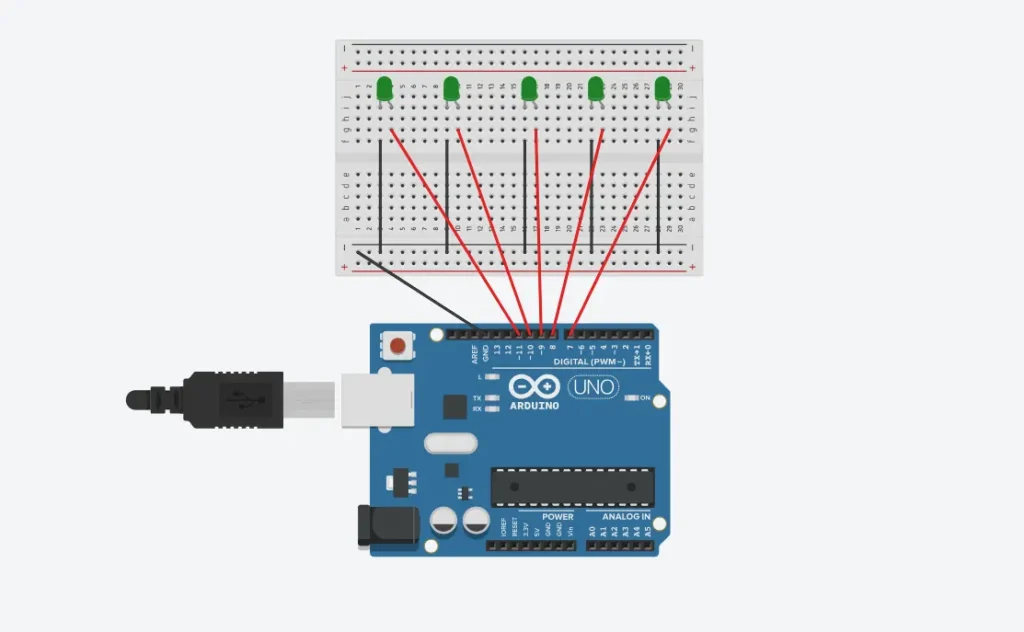
Ground Connection: Connect the Cathode (Negative leg/shorter leg) of all LEDs to the GND pin on the Arduino.
Digital Pins: Connect the Anode (Positive leg/longer leg) of the LEDs to the Arduino Digital Pins as follows:
LED 1 → Pin 7
LED 2 → Pin 8
LED 3 → Pin 9
LED 4 → Pin 10
LED 5 → Pin 11
(Note: If you are a beginner, refer to the circuit diagram below or watch the full tutorial video at the end of this article).
Step 2: Uploading the Arduino Code
💻 Step 2: Uploading the Arduino Code
Now, we need to tell the Arduino what to do.
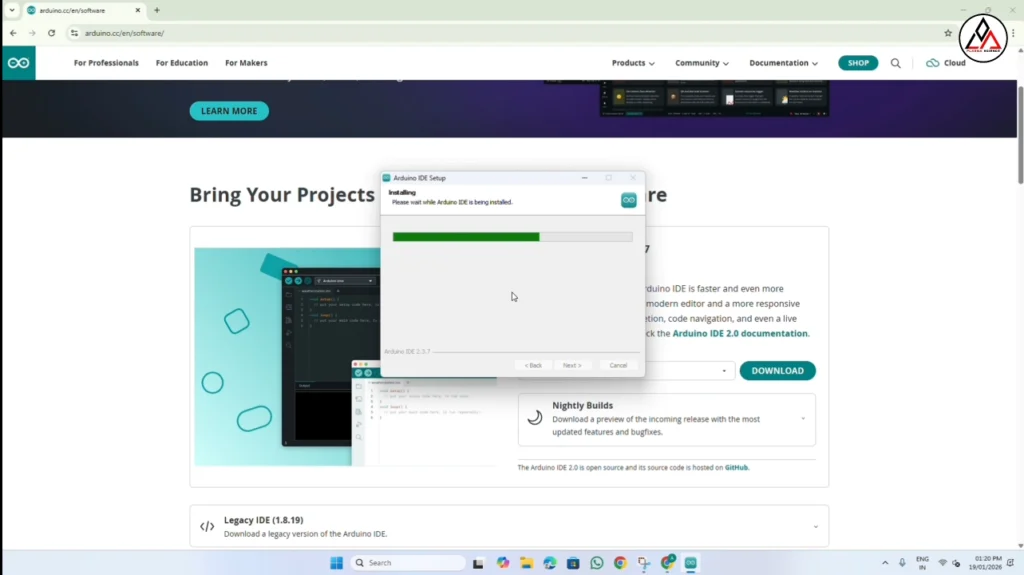
Download Arduino IDE: If you don’t have it, download and install the Arduino IDE software from the official website.
Connect your Arduino Uno to your computer using the USB cable.
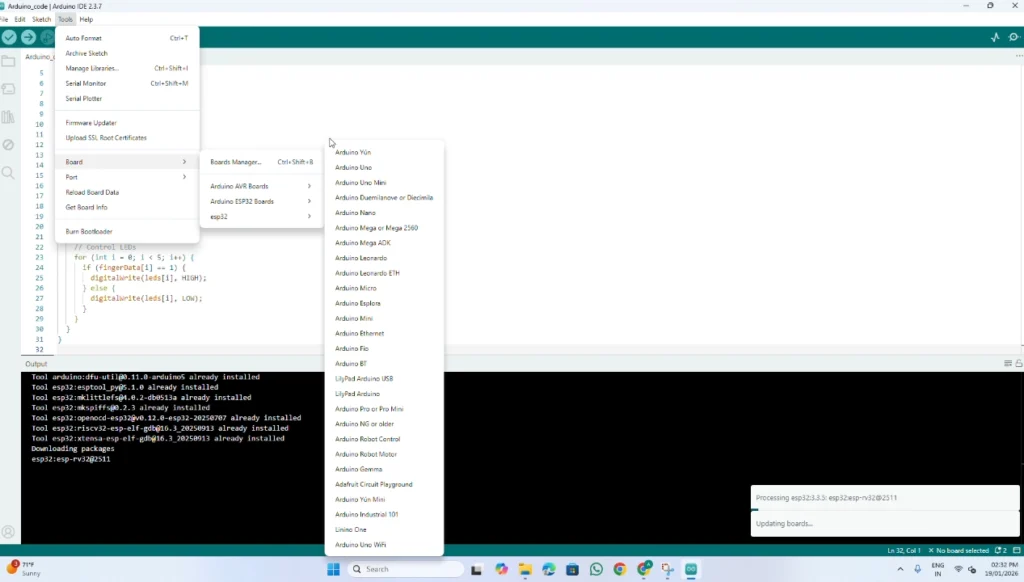
Select Board: Open Arduino IDE, go to Tools > Board > Arduino AVR Boards, and select Arduino Uno.
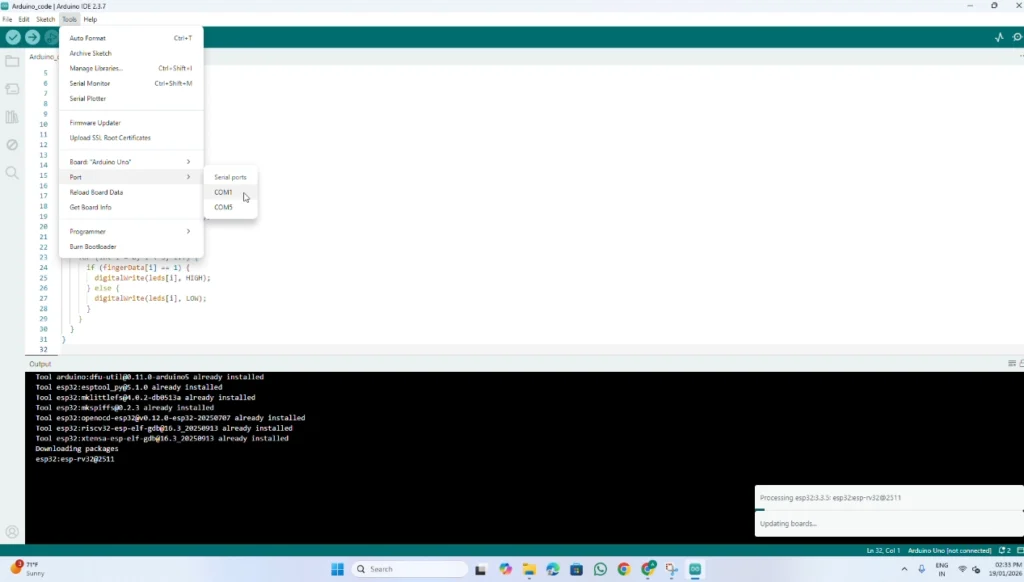
Select Port: Go to Tools > Port and select the COM port where your Arduino is connected (e.g., COM5).
Arduino Code
int leds[5] = {7, 8, 9, 10, 11};
byte fingerData[5];

void setup() {
  Serial.begin(9600);

  for (int i = 0; i < 5; i++) {
    pinMode(leds[i], OUTPUT);
    digitalWrite(leds[i], LOW);
  }
}

void loop() {
  // Wait until 5 bytes arrive
  if (Serial.available() >= 5) {

    // Read 5 bytes from Python
    for (int i = 0; i < 5; i++) {
      fingerData[i] = Serial.read();
    }

    // Control LEDs
    for (int i = 0; i < 5; i++) {
      if (fingerData[i] == 1) {
        digitalWrite(leds[i], HIGH);
      } else {
        digitalWrite(leds[i], LOW);
      }
    }
  }
}
Step 3: Installing Necessary Software
To make the AI part work, we need VS Code and Python. Follow these steps carefully:
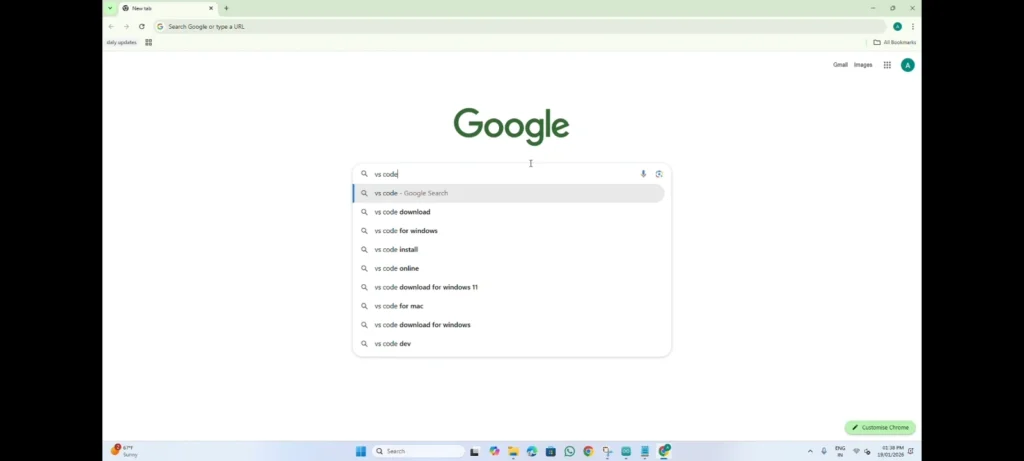
Install VS Code
- Go to Google and search for “VS Code Download“.
- Click on the official link and download the version for Windows.
- Open the installer. Click Run > Accept Agreement > Next.
- Important: On the final screen, check (tick) all the boxes for a smooth experience. Click Next > Install > Finish.


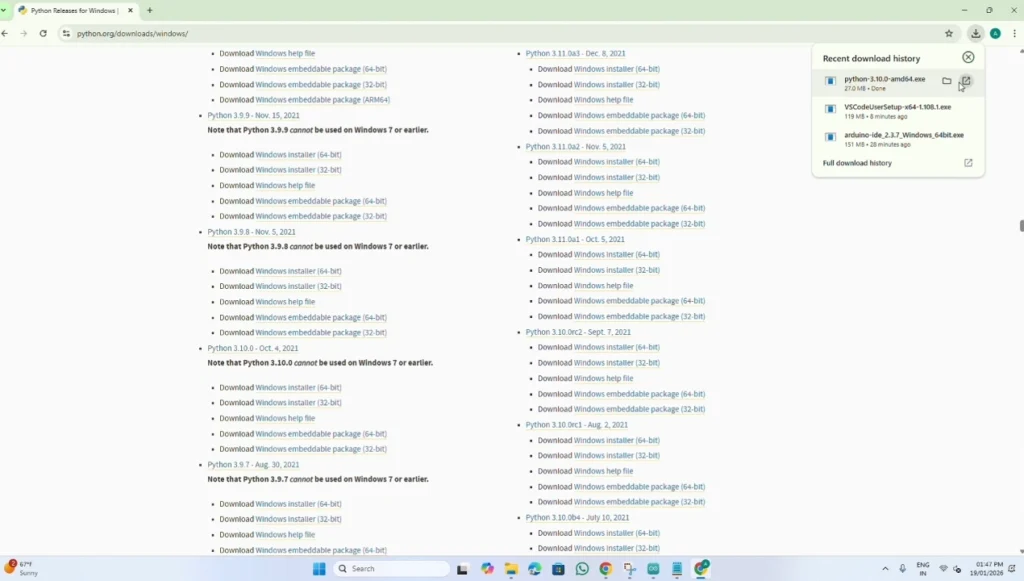
Install Python (Version 3.10.0)
- Go to Google and search for “Python 3.10.0 download“.
- Important: Download exactly version 3.10.0 for best compatibility.
- Scroll down to “Files” and select the Windows installer (64-bit).
- Run the installer. CRITICAL STEP: Check the box that says “Add Python 3.10 to PATH” at the bottom.
- Click Install Now. Once done, click Close.


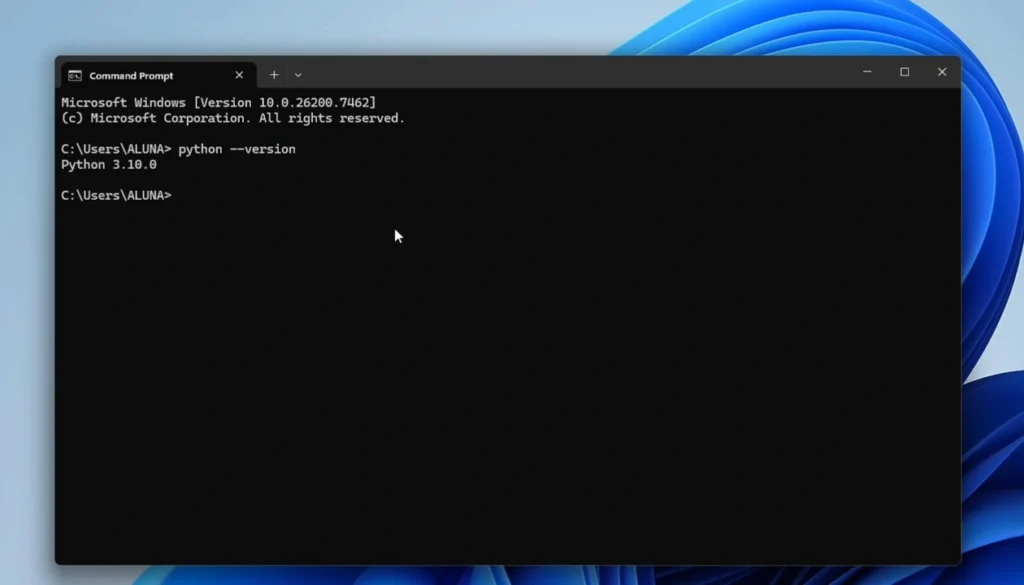
Verify Installation
Open your computer’s Command Prompt (CMD) and type the following command:
python --versionIf it shows Python 3.10.0, you have installed it successfully!
Step 4: Installing Python Libraries
OpenCV Installation
Open Command Prompt (CMD).
Type the following commands one by one and press Enter after each:
Install OpenCV:
pip install opencv-pythonMediaPipe Installation
Type the following commands one by one and press Enter after each:
pip install mediapipePySerial Installation
Type the following commands one by one and press Enter after each:
pip install pyserialInstall PySerial:
pip install pyserial
Step 5: Running the Python Project
- Open VS Code.
- Go to File > Open Folder and create a new folder for your project. Select it.
- Create a new file named project.py.
- Copy and paste the Python code below into the file.
- Note: Make sure to change COM5 in the code to your actual Arduino Port.
# Import OpenCV library for camera access and image processing
import cv2

# Import MediaPipe for hand tracking and landmark detection
import mediapipe as mp

# Import serial library to communicate with Arduino
import serial

# Import time library for delays
import time


# ---------------- SERIAL COMMUNICATION SETUP ----------------

# Create serial connection with Arduino on COM5(You need to write here which port your Arduino board is connected to.) at 9600 baud rate
arduino = serial.Serial(port='COM5', baudrate=9600, timeout=1)

# Wait 2 seconds to allow Arduino to reset and start communication
time.sleep(2)


# ---------------- MEDIAPIPE HAND SETUP ----------------

# Load MediaPipe Hands solution
mp_hands = mp.solutions.hands

# Initialize hand detection model with default settings
hands = mp_hands.Hands()

# Utility for drawing hand landmarks on the image
mp_drawing = mp.solutions.drawing_utils


# ---------------- FINGER DETECTION FUNCTION ----------------

# This function detects which fingers are UP or DOWN
# It returns a list of 5 values (1 = finger up, 0 = finger down)
def detect_fingers(image, hand_landmarks):

    # Landmark indexes for fingertips (Index, Middle, Ring, Pinky)
    finger_tips = [8, 12, 16, 20]

    # Landmark index for thumb tip
    thumb_tip = 4

    # Initial finger state: all fingers DOWN
    # Order: [Thumb, Index, Middle, Ring, Pinky]
    finger_states = [0, 0, 0, 0, 0]

    # -------- THUMB CHECK --------
    # Thumb is considered UP if its x-position is less than previous joint
    # (Works mainly for right hand)
    if hand_landmarks.landmark[thumb_tip].x < hand_landmarks.landmark[thumb_tip - 1].x:
        finger_states[0] = 1  # Thumb is UP

    # -------- OTHER FINGERS CHECK --------
    # Loop through index, middle, ring, and pinky fingers
    for idx, tip in enumerate(finger_tips):

        # If fingertip is above its middle joint, finger is UP
        if hand_landmarks.landmark[tip].y < hand_landmarks.landmark[tip - 2].y:
            finger_states[idx + 1] = 1

    # Return final finger states list
    return finger_states


# ---------------- CAMERA SETUP ----------------

# Open webcam (0 = default camera)
cap = cv2.VideoCapture(0)


# ---------------- MAIN LOOP ----------------

# Run loop while camera is opened successfully
while cap.isOpened():

    # Read one frame from the camera
    success, image = cap.read()

    # If frame is not captured, exit loop
    if not success:
        break

    # Flip image horizontally for mirror view
    # Convert image from BGR to RGB (required by MediaPipe)
    image = cv2.cvtColor(cv2.flip(image, 1), cv2.COLOR_BGR2RGB)

    # Process image and detect hands
    results = hands.process(image)

    # Convert image back from RGB to BGR for OpenCV display
    image = cv2.cvtColor(image, cv2.COLOR_RGB2BGR)


    # If at least one hand is detected
    if results.multi_hand_landmarks:

        # Loop through all detected hands
        for hand_landmarks in results.multi_hand_landmarks:

            # Draw hand landmarks and connections on the image
            mp_drawing.draw_landmarks(
                image,
                hand_landmarks,
                mp_hands.HAND_CONNECTIONS
            )

            # Detect finger states (0 or 1)
            fingers_state = detect_fingers(image, hand_landmarks)

            # Send finger states as bytes to Arduino
            # Example: [1,0,1,0,1]
            arduino.write(bytes(fingers_state))

            # Print finger states in terminal for debugging
            print(f"Fingers State: {fingers_state}")


    # Display the camera window
    cv2.imshow('Hand Tracking', image)

    # Press ESC key (27) to stop the program
    if cv2.waitKey(5) & 0xFF == 27:
        break


# ---------------- CLEANUP ----------------

# Release camera resource
cap.release()

# Close all OpenCV windows
cv2.destroyAllWindows()

# Close serial communication with Arduino
arduino.close()
Click the Run (Play) button in the top right corner.
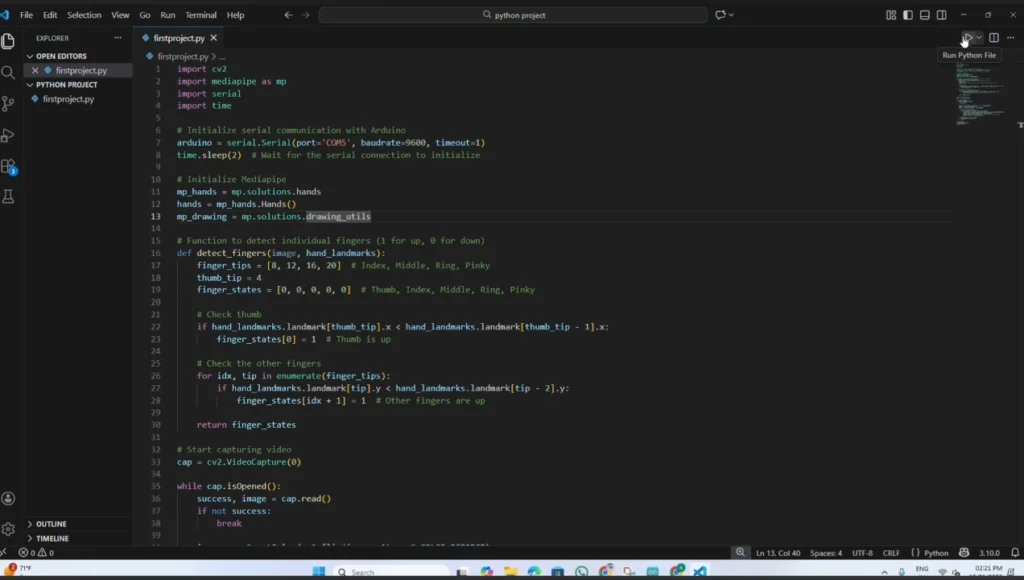
Click the Run (Play) button in the top right corner.
Result
Once the code runs, a window will open showing your webcam feed.
Show 1 Finger: LED 1 turns ON.
Show 5 Fingers: All 5 LEDs turn ON.
Close Fist (0 Fingers): All LEDs turn OFF.
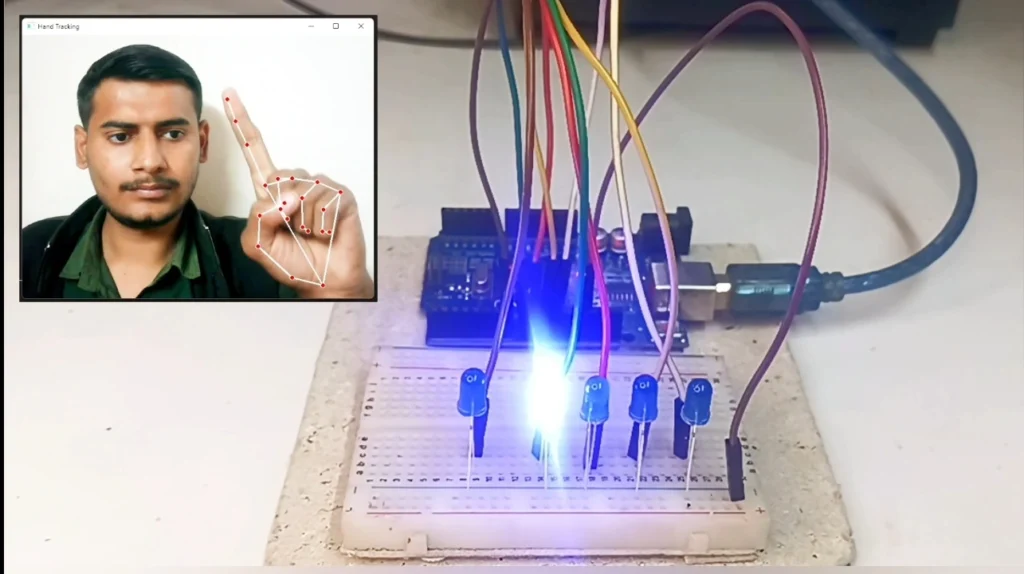
You can stop the program anytime by pressing the ‘Esc’ key on your keyboard.
Watch the Full Tutorial
If you faced any issues or want to see the live demo, watch the full step-by-step video on my YouTube channel here: